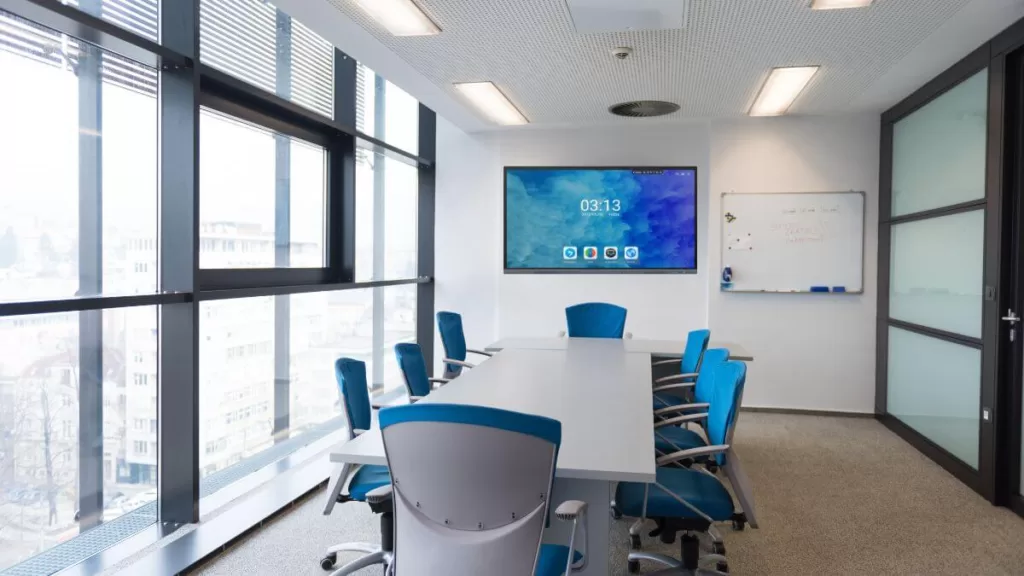
When you receive DS KS18 Series interactive flat panel and want to customize your own logo as a booting logo, is that possible? Surely Yes! People can customize a picture or a video for the interactive panels by themselves. And to be more exact, the booting logo is an image or video displayed when you turn on the smart board. A booting logo of your own will impress your potential customer deeply. Here we show you how to set your own booting logo step by step.
1. Prepare an image for the logo
- Please make sure that the resolution of the booting logo image is 2K (1920*1080)or 4K,(3840*2160), and not large than 1Mb (the smaller the better).
- Picture format must be jpg format
- Named the image to:boot0.jpg
- Placed the booting image in the root directory of a U disk,
2. Plug U disk on the KS18 series interactive flat panels
3. Set the new image on KS18 details operation steps
Pull the side tool bar-click “setting” icon-choose “system”-click”about device”-choose “running memory” (keep quick taping for 3 or 5 times here), after that it will pop out “debug menu” window, choose and click “Android setting” -next click “replace logo & animation”, select the “confirm” on the pop-out windows. The interactive panel system will automatically replace the booting image recognized in the u-disk.
That’s all for setting the booting logo, is it easy for you?
No? No worries, there is another easy and quick way- Tell us your demand when ordering, we will make it set.
And if you have any doubts, feel free to contact us, we are always ready to help you.


